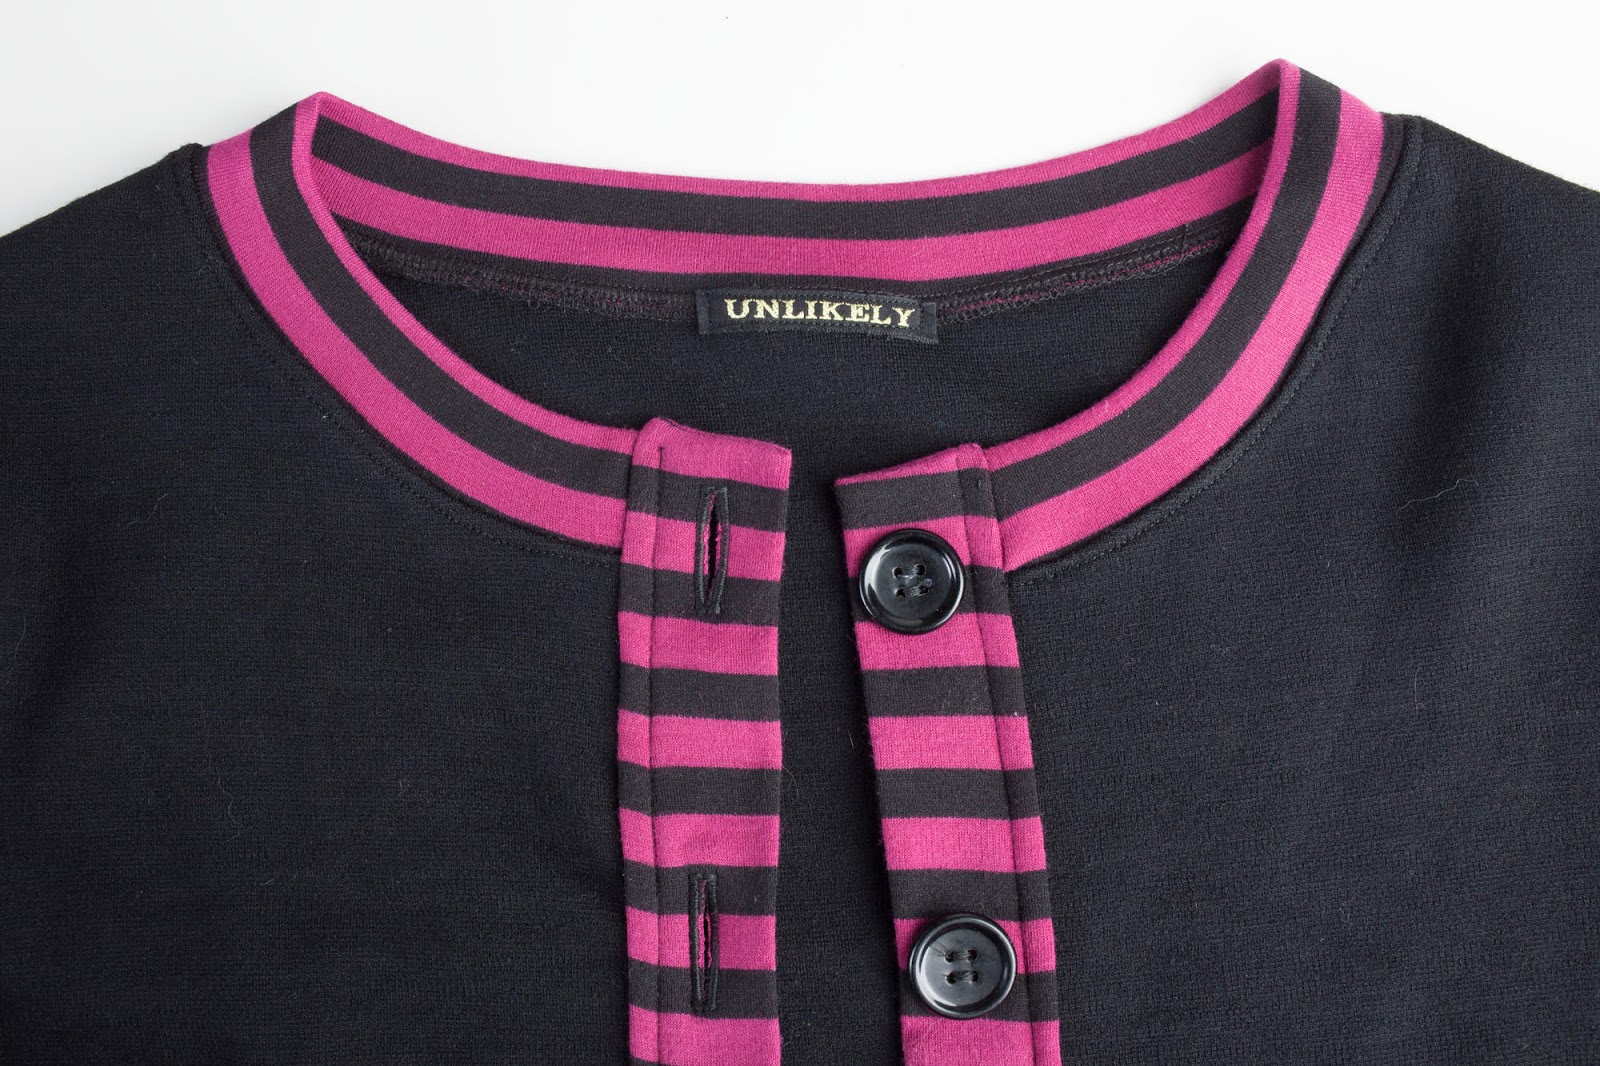
This beauty is the Lisbon Cardigan by Itch to Stitch. Isn't she gorgeous?

When Kennis asked for pattern testers, I jumped on this. What a beautiful, classic design... I've actually searched for something similar, and been disappointed with what I've found. If you are a prolific knitter, your wardrobe is probably full of nice cardigans, but as slow and plodding knitter, this is a definite gap for me.
This version is made with doubleknit and ponte fabrics. The black is a wool doubleknit from Mood that has been in my stash for years. I fell in love with it and bought a ridiculous quantity. This was probably a mistake in how much space it takes up in my limited fabric storage area... but for something like this, it is the perfect fabric-- warm, durable, and with just a bit of stretch- 25 percent or so.

The magenta striped fabric is a rayon ponte from Marcy Tilton (who has the most amazing collection of stripes). It is a 2 way stretch, which was a bit worrisome for this pattern since I had my heart set on vertical striping and the stretch goes with the stripes. So I got away with making the cuffs and bottom bands with very little stretch... there is enough ease that this worked for me.

The neckline, however, was a bit of a disaster without stretch-- it is basically a rectangle and the shaping of the neckline comes from stretching it to fit the body of the sweater. After a total fail, I re-cut the neckline horizontally, with the stretch. In retrospect, I really like it this way.
The fit is perfect for me. I made a size 10 with no adjustments at all. I'm a 38 bust, 35 waist, and 41 hip, and 5'4". Technically my waist would be a size 12, but the fit is boxy so I just ignored that fact. I have slightly larger than average biceps and sometimes feel the need to do a large biceps adjustment, but I didn't need to on this pattern (some testers narrowed the sleeves a bit). The sleeves might be just a tad long for me, but it doesn't bother me because the cuffs keep them in place.

I know this sounds crazy, looking at this sweater now... but it totally didn't occur to me that I needed to pattern-match the two front bands (where the buttons and the buttonholes are). Thank goodness I ended up pattern-matching by accident, just by virtue of the fact that I was using the stripes as a cutting guide when I cut the pieces. I sort of thought they would totally overlap and you wouldn't see the bottom band, but looking at it now, it makes sense that it would peek out. It would have looked dorky if I hadn't managed to match it!
This is my first Itch to Stitch pattern, and I was impressed with Kennis's professional drafting and instructions. The seam allowances aren't shaped, so you do need to make sure you are matching the stitching lines, but this is pretty standard sewing technique. Her instructions are very well thought out and concise, there are no extra steps or fussiness, she just tells you what you need to do in a logical order. You don't need a serger, but she indicates where you can use one, and the seam allowances are 1/4 inch so there isn't a lot of wasted fabric.

The PDF is layered so that you can print out just the version you need, instead of all of the sizes, and she includes instructions on how to print out just the layers you need. FYI, if you are PDF challenged and ignore the instructions and print off all of the layers at once, that works too. As me how I know ;). The one piece I had to reprint with unnecessary layers turned off was the front band showing the buttonhole placement, but this was just 3 pages.
I did made one significant change in construction. When sewing the front bands, she has you sew the band on and tack the seam allowances. This is a very reasonable, reliable way to sew the front bands on... but I like an enclosed front band on my cardigans since I tend to wear them unbuttoned. So I sewed the front band on like you would sew a waistband. I just finished a pair of Ginger Jeans by Closet Case Files, and Heather explains the technique very well in her sewalong. I'll do a tutorial for this when I sew my next Lisbon, but I basically treated the front band of the cardigan like the waistband of a pair of pants, using the topstitching to catch the seam allowance of the underside of the band. Since you are basically sewing blind, it helps to use wonder tape (double sided water soluable tape!). If you don't have wonder tape, use lots of pins. It is a little trickier to sew the front bands in this manner, but I love the result... if the wind catches my cardigan and flips it open, the inside is almost as beautiful as the outside.

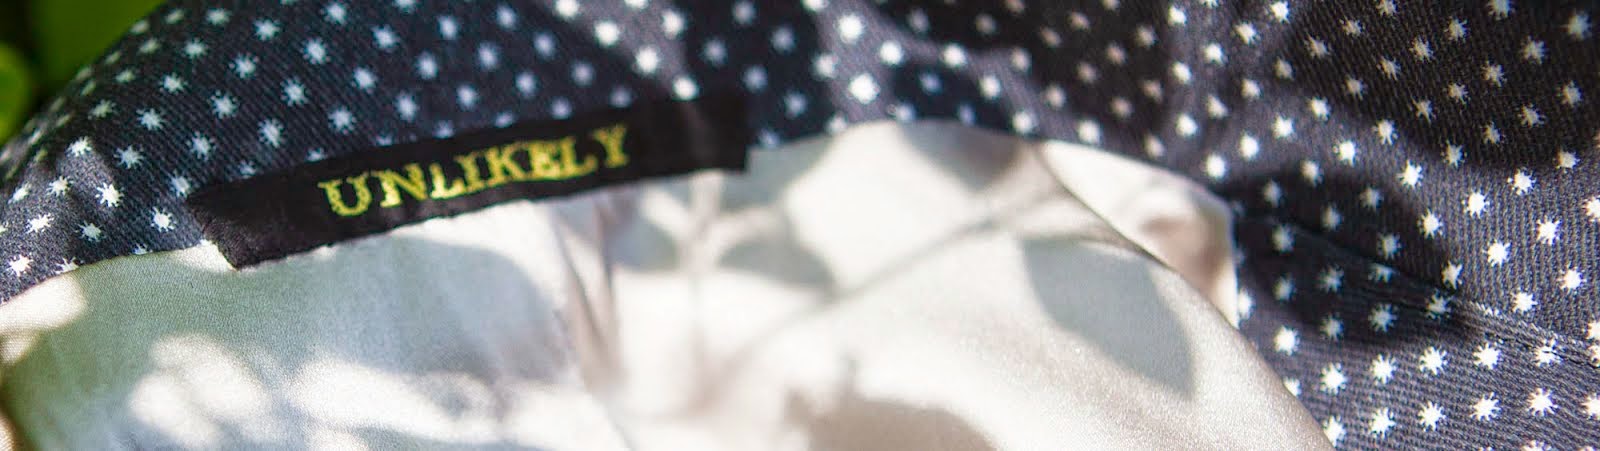
Speaking of beautiful insides, Kennis includes instructions for a "hong kong" seam finish for knits. I think this is a super cool idea! I just serged this cardigan, but if I'm working with something super special in the future, it would be lovely to have a beautiful color or print enclosing the seams. You could also just use this technique on super obvious seams, such as the front band seam, if you aren't doing the "waistband" method of enclosing the seams.

One other detail I added was underlining for the arms. I know from experience that I find this wool doubleknit a bit scratchy to have in direct contact with my skin, and I wanted to be able to wear this cardigan with sleeveless tops. So I underlined the sleeves with some Venezia knit lining from Emmaonesock. I love this stuff... super light, slightly slippery, and stretchy. I used the sleeve pattern pieces to cut out the lining, and basted the lining to the sleeve, wrong sides together. I then treated the sleeve and lining as a single piece for the rest of the construction of the cardigan.

Let's just talk for one minute about the elephant in the room: buttonholes! For the full length version of this cardigan there are SEVEN of them. Ack. I was hoping for miracles when I bought my Janome 8077 last year, but I have to say, the automatic buttonhole feature is miles better than my old machine (which was scoring a ZERO, so that isn't saying much) but still rather finicky. If the buttonhole situation is PERFECT-- totally flat, even thickness of fabric, not too thick, not too thin, normal Gutterman thread (mara 100), perfectly stabilized (preferrably, woven), no seams in the vicinity-- the buttonhole function will still sometimes stop with inscrutable codes for no reason at all.
After about 15 minutes or so of failures on test fabric, my machine and I came to a truce on these buttonholes. No fancy buttonhole thread-- just regular old Gutterman thread with the stretch needle that I had used for construction. No funny stuff, like going around twice. Tissue paper under the fabric. Then I pulled off 7 buttonholes in a row, and breathed a huge sigh of relief.
One little hint... if you are using an automatic buttonholer where you put a button in the slot to get the right size buttonhole, you might want to trick it into making slightly smaller buttonholes for your knit fabric. I took out the button and clamped the little lever down another 1/8 inch.
The buttons are vintage buttons from my best friend's grandmother's button collection. They are basic black buttons, and I'm not sure what they are made of, but they have a bit more weight and a slightly cool touch. They feel nice to the touch. I machine sewed them, which went pretty smoothly on my Janome-- no broken needles and faster than hand sewing.

Oh, and one more detail I added: topstitching. I was having trouble getting things to lie flat... these knits just didn't hold a press in a very satisfying way. So I added two lines of topstitching, at the top and bottom of the striped portion of the waistband, which served to add a bit of definition and hold the seam allowances in place. I also topstitched the neckline, on the black doubleknit just under the neckband, once again to hold the seam allowances in place and help everything lie nice and flat.

This was actually my second Lisbon, and I sewed it up in one evening, minus the buttonholes and buttons. Kennis is totally right that you are going to want to make TONS of these, it is such a versatile wardrobe piece, and very fun in all sorts of fabrics. I'll blog my other Lisbon soon-- I used a drapey knit, and it has a totally different feel. I can't wait to sew another one!
Kennis is having a new release sale right now, so head over to her shop if you want to make your own Lisbon Cardigan. No code required to get 20% off.

Gorgeous cardigan! (and it matches the hot pink seams on your jeans, too.)
ReplyDeleteThanks for the detailed explanation, especially mentioning that the arms aren't too tight.
Chris
You are welcome. I'm always on the lookout for tight arms! One of the best things about sewing for myself is that I don't have to put up with RTW made for people with stick-thin arms!
ReplyDelete